How to Change Your Student Password

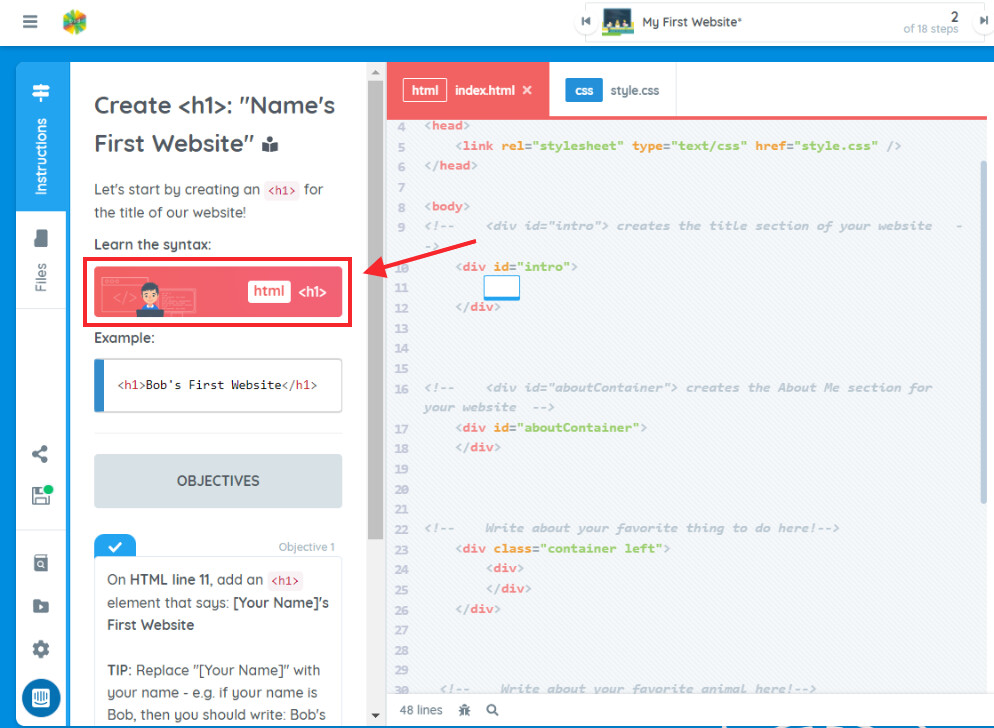
If for whatever reason, a student cannot sign in with their quick login code and you cannot find their generated password, you can try manually changing their password.

Here are the steps that you can follow:

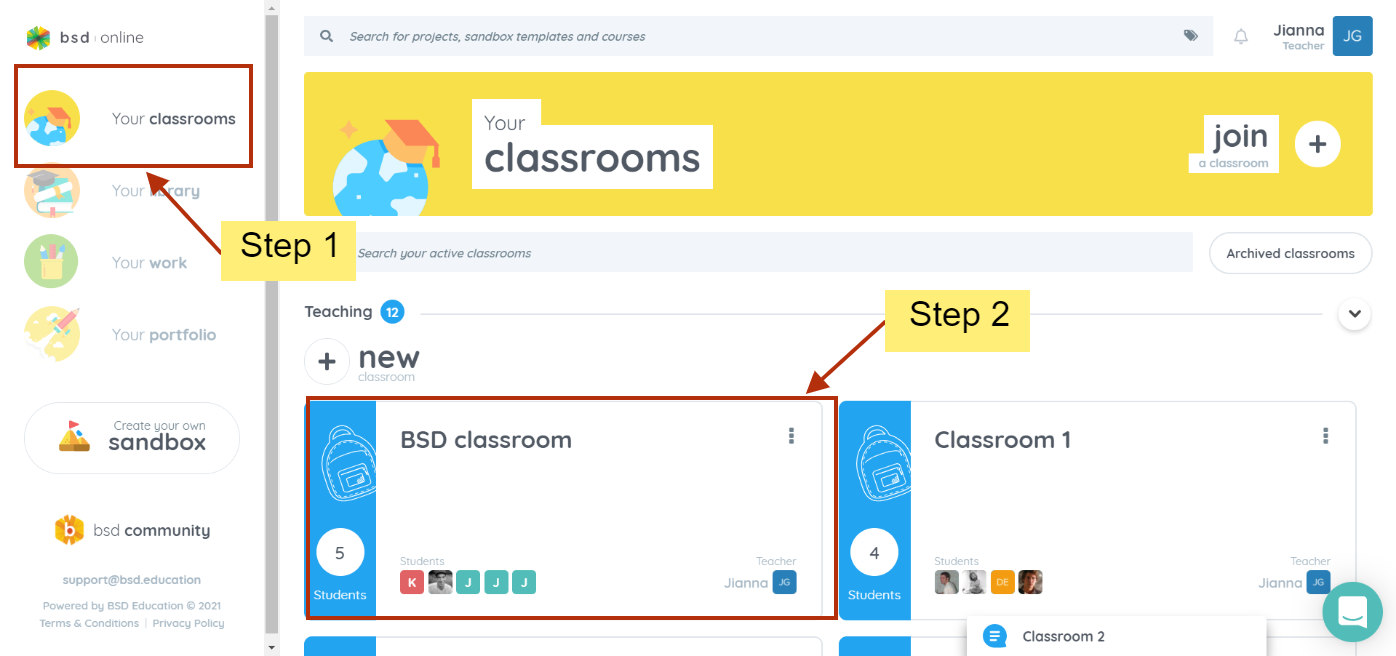
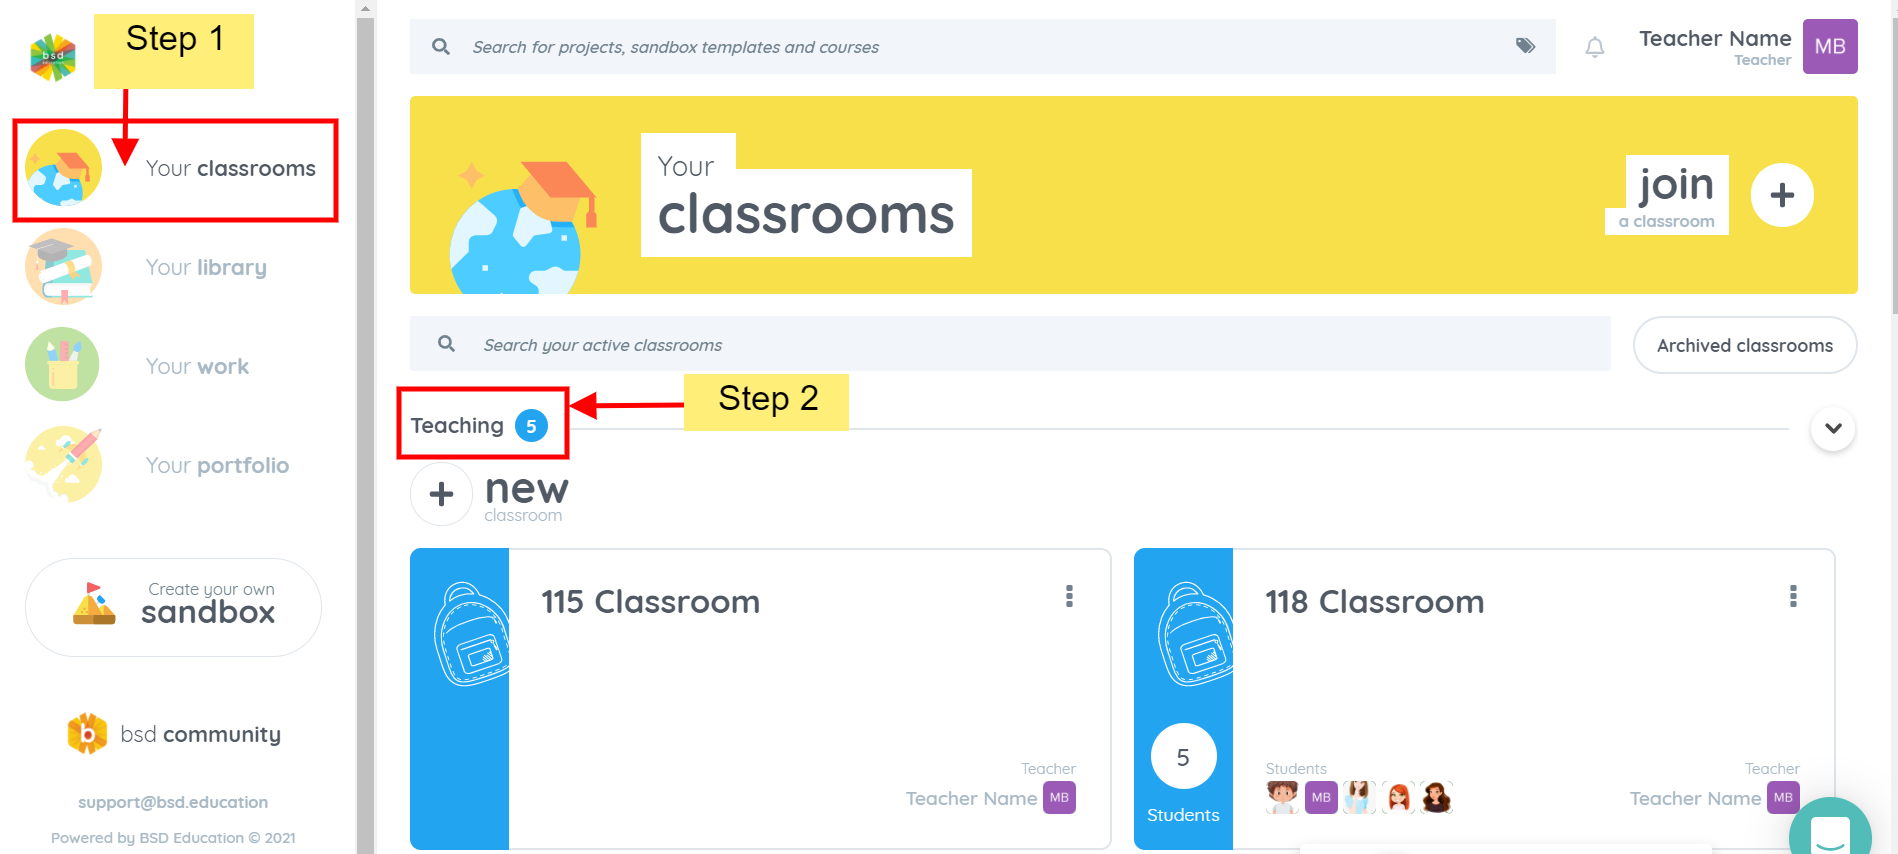
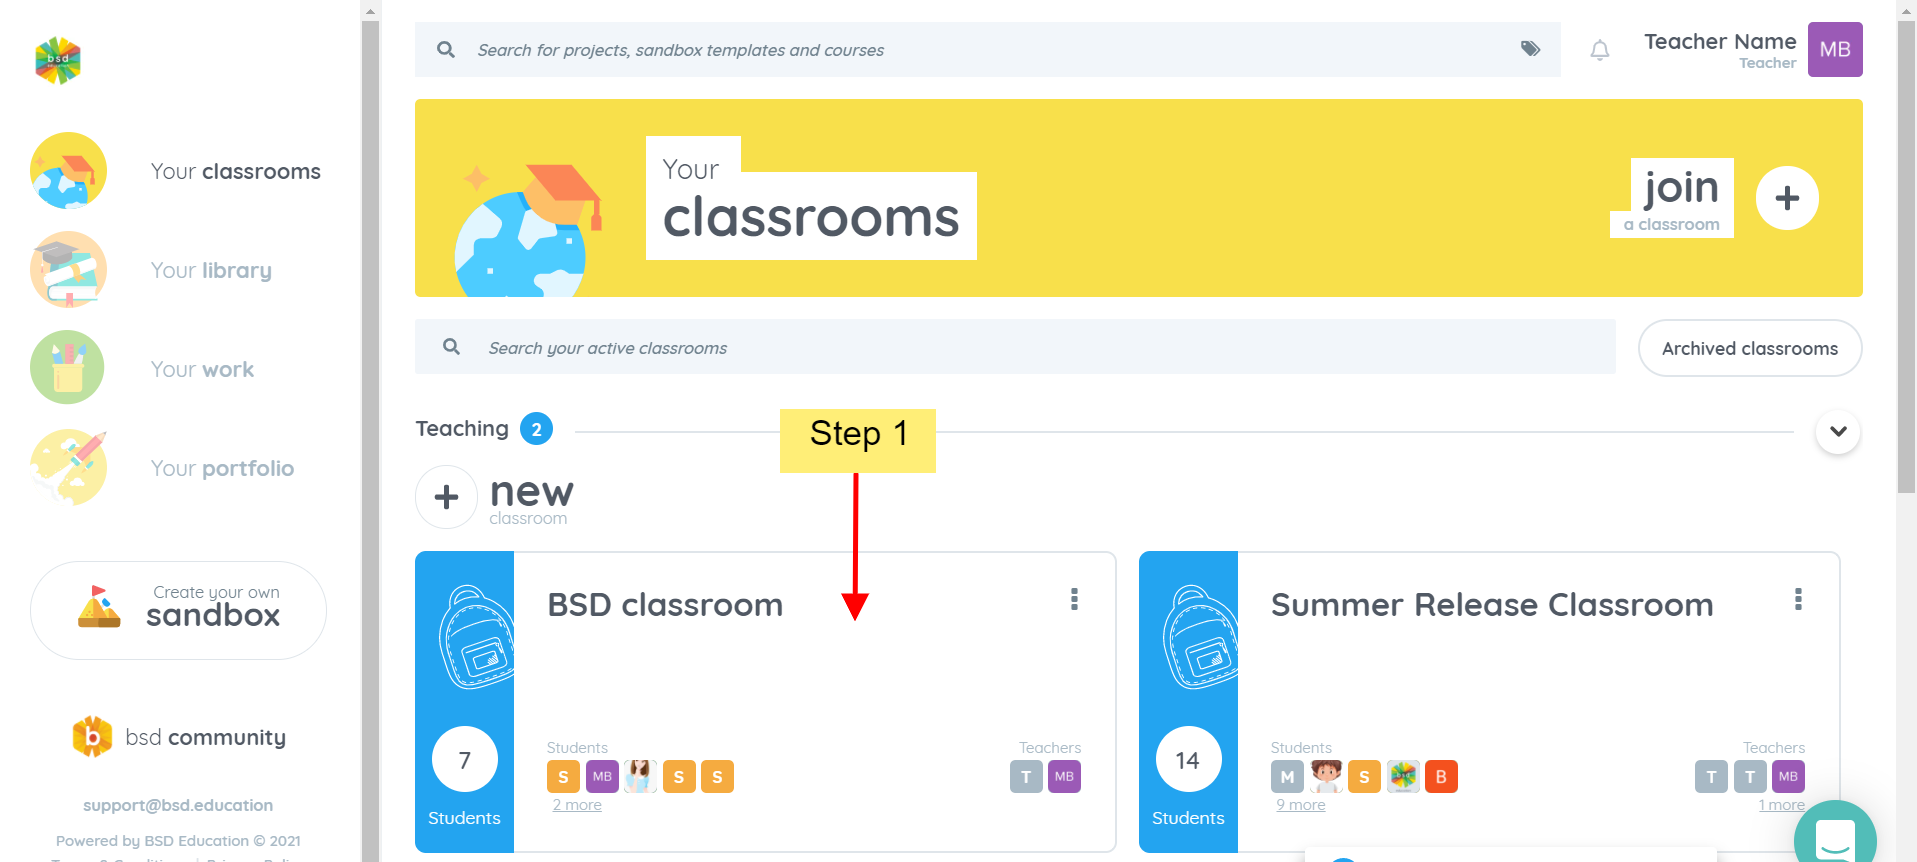
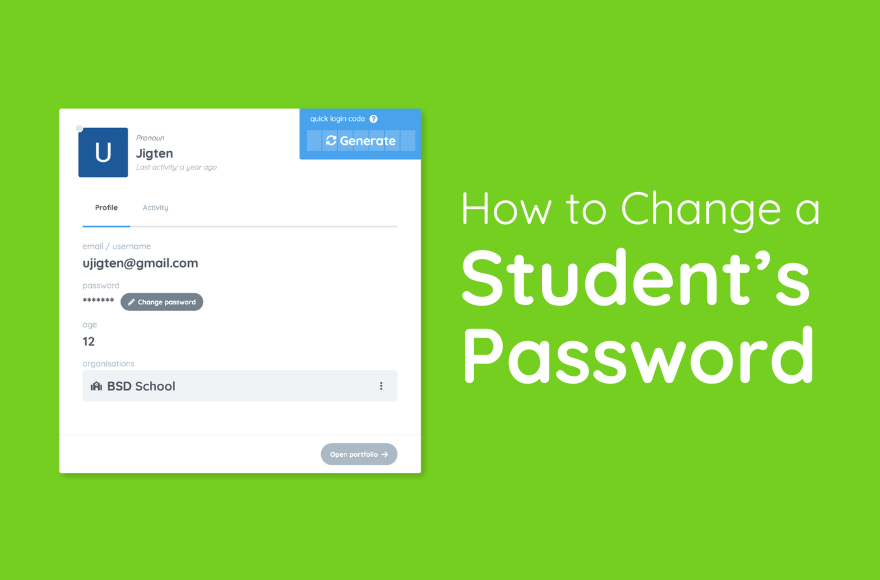
  1. Go to the classroom where you added the student and open the student list.
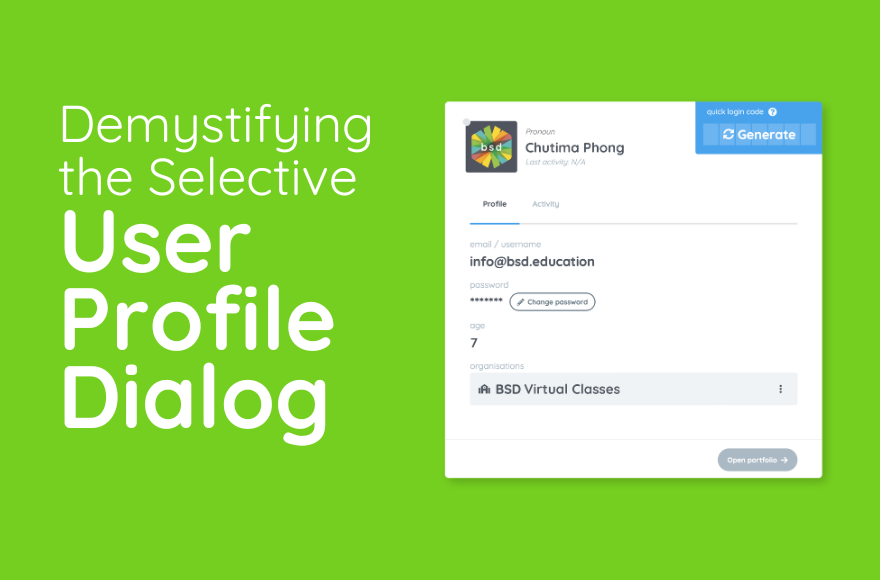
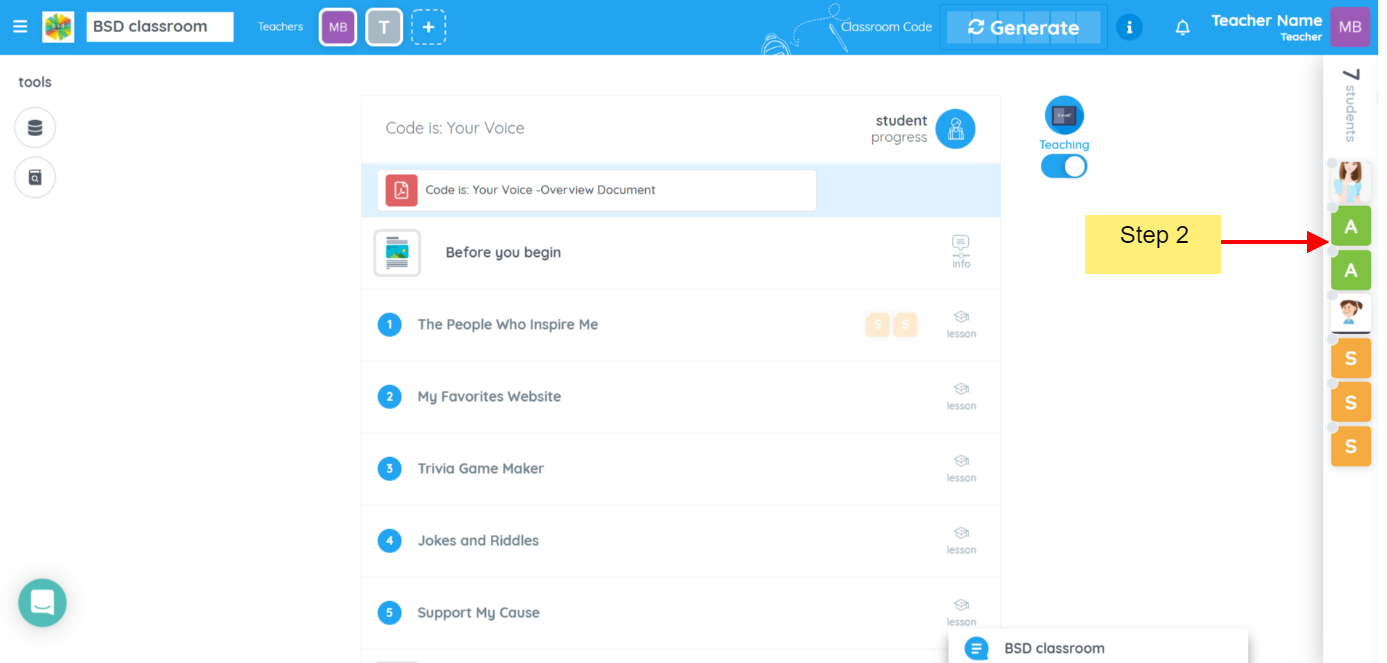
  2. From the list, find and click the student’s avatar or picture from the list to bring up the student’s profile dialog. (If the student has not changed their avatar yet, then it will be the first letter of their email address by default.)
  3. In the Profile tab, click the Change password button and enter a new password and confirm by clicking the Change password button once more.

Advise the student to change his or her password upon logging in and to make sure to store their new password securely or if they want, they can use a password manager application.

Here’s a demo that you can see how it is done:

Notes:

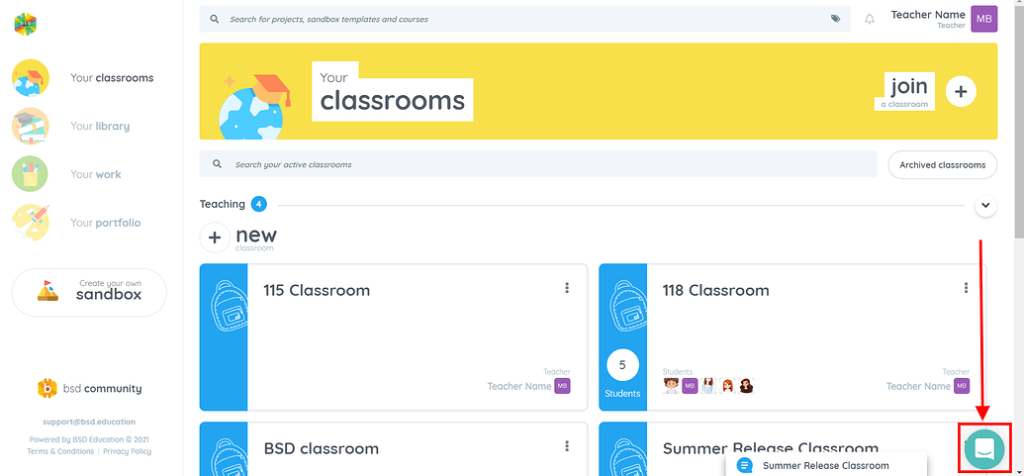
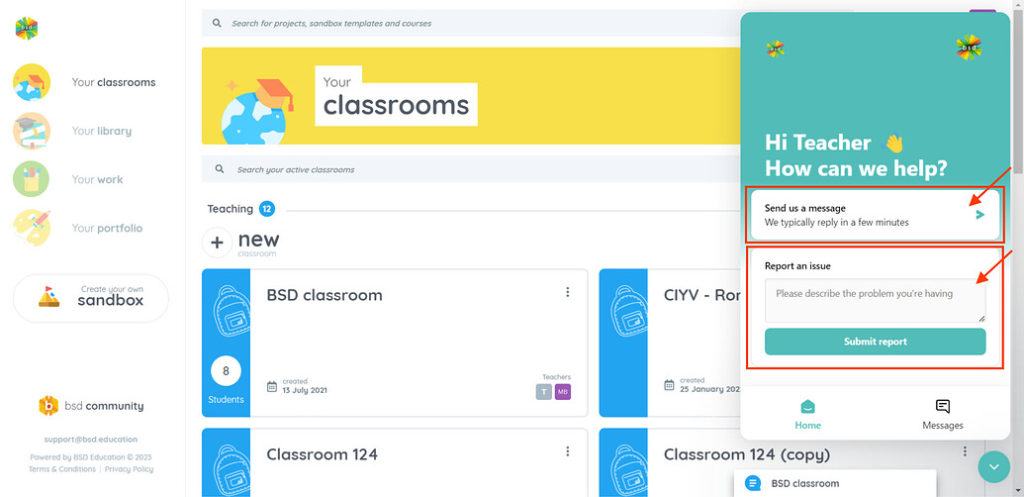
  1. If a student you want to change the password of does not belong to any of your classrooms, please contact your school’s BSD coordinator or you can also reach BSD Support through chat or email.
  2. Changing the password on BSD Online does not affect the user’s Google or Microsoft account password. If the student usually uses Google or Microsoft single sign-on method to log in, ask the student to follow the password reset procedures for Google or Microsoft account. In the meantime, you can set a BSD Online password for the student or give them a Quick Login (QL) code to get them logged in easily. To know more about QL Codes, please refer to this post: Teacher Tips: Quick Login 1

Creating Info Steps on BSD Online

Want to personalize or add your own content in your BSD Online classroom? It is possible, as we have the “Info step” which allows you to post a platform or content link and image right inside your own classroom. The Info step is a standalone content that can be added with or without a project or course content in a classroom. Here’s a step by step guide on how-to:

Step 1: Go to “Manage classrooms”

Step 2: Click “Your classrooms” and go to the classroom you want to add the “Info step”.

image

Step 3: Click the “Teaching” mode to toggle from Teaching to Editing mode

screenshot-app-staging.bsd.education-2022.02.10-23_11_51

Step 4: Click the “+” icon to see the list of contents available to the classroom.

screenshot-app-staging.bsd.education-2022.02.10-23_35_52

Step 5: Click the “Custom” tab and select “Info step”.

screenshot-app-staging.bsd.education-2022.02.10-23_54_02

Step 6: Rename the “Info step” and then click “Create” to confirm.

image

6a: Here is a gif to show you what you can put in an Info step.

6b: The Info step will go directly at the bottom of the course list.

screenshot-app-staging.bsd.education-2022.02.11-00_00_17

6c: Adding the info step inside the specific lesson is possible. First, click the lesson where an info step wishes to be added. Then click the + icon right next to the lesson title and select the info step from the custom tab.

Note: There are two resource sections per lesson – teacher’s resource section (section with a light blue background where the teacher resources are placed) and student’s resource section (section with a dark blue background where the activities are placed). The info step can only be added to the student’s view section. However, for the teacher’s resources section, only custom “Resource” is available to use.

Student’s view section

screenshot-app-staging.bsd.education-2022.02.11-00_15_33

Teacher’s view section

screenshot-app-staging.bsd.education-2022.02.11-00_21_28

Step 7: To resequence, drag the info step to the place you want it to be. To delete and edit, hover over the Info step to see the three vertical dots.

screenshot-app-staging.bsd.education-2022.02.11-01_16_16

Step 8: Toggle to switch the mode from “Editing” to “Teaching” mode.

screenshot-app-staging.bsd.education-2022.02.11-01_19_15

There you go, you have now learned how to add your own step into your classroom and customize it. Keep posted here in the BSD community to learn more about BSD Online features and how you can use them in your classroom.

How to Easily Create Quiz Steps with BSD

Teachers can now have their quizzes set up in their own classrooms. The quiz step is a standalone content that can be added with or without a project or course in a classroom. To know how to create a quiz step, here’s a guide to follow:

Step 1: Toggle “Teaching” to unlock the classroom.

screenshot-app.bsd.education-2022.02.16-05_41_14

After clicking, you now see “Editing”

screenshot-app.bsd.education-2022.02.16-05_50_21

Step 2: Click the “+” sign to see the available contents

Step 3: Select “Custom” and click Quiz

screenshot-app.bsd.education-2022.02.16-05_44_17

Step 4: Put a title on your quiz

Step 5: Put the questions and choices of answers. Click which choice is the correct answer.

By default, you see below the disabled “Shuffle quiz questions” and enabled “Display student score”

screenshot-app.bsd.education-2022.02.16-05_35_29

Optional: If you want to add the context of the question like images and hyperlinks, click “Add context”

image
image

Sample quiz:

screenshot-app.bsd.education-2022.02.16-05_58_04

5a: To add more questions to your quiz, click the add a question button.

screenshot-app.bsd.education-2022.02.16-06_34_57

Step 6: After you finish putting all the questions in your quiz step, you need to save it. It will go at the bottom of your classroom content list. You can re-order it by dragging it to where you wish to place it.

screenshot-app.bsd.education-2022.02.16-06_40_33

Don’t forget to lock your classroom content by clicking the lock icon again. There you go! Your quiz is now all set and ready for your students to answer.

To show the result of the quiz, simply click the quiz and you will find the number of students who completed, who haven’t started the quiz, success percentage per student, and if they got a wrong answer the box that corresponds to the question order highlights as yellow.

screenshot-app.bsd.education-2022.02.16-06_55_06

If there’s any concern you might require assistance from our support team, please send us a message through chat support or email us at support@bsd.education.

How To Use The BSD Online Glossary

The Glossary is a set of interactive cards which explain HTML, CSS and JavaScript codes, how they work and how to write them. They can be found in all guided projects and within sandboxes on BSD Online. These Glossaries are strategically placed on steps where the code or function will be used. Glossaries will give you an idea and a better understanding of the codes that you are going to use. There are 2 ways to access the glossary cards. Here is the first one:

1. Click on the icon below Required Syntax, like the one below:

2. Or you can use the new feature, the “Glossary search” by clicking the button below:

After clicking on the Glossary search button, a search box will appear. You have the option to type in the code, or use the scroll bar to search for the code you want to know more about.

Once you have selected the code, it will give you a preview of the glossary. To view the full glossary, click on the “Open glossary card” button.

image

When you click on a Glossary or open a glossary card, a window will pop up and it always starts with the “What is it?”

Tip: There are 2 ways to navigate the glossary. You can either use the mouse and click on the next glossary card to view it or you can use the keyboard’s left and right arrow keys to switch from cards to cards.

“Syntax” gives us the code’s description, uses, and function.

“See it in action” will show us how to use the code together with values.

Tip: Hovering on the code snippet will give you an option to “Copy to Clipboard” enabling you to paste it straight to your work.

ezgif.com-gif-maker (1)

“See it in action” gives you an idea of what the end result will be. The top panel has an edit feature, letting you type in your code and get a real-time result on the output panel below it. It also has a “Copy to Clipboard” and a “Reset” option to return to the original example after code customization.

Glossaries are color-coded based on the coding language. Red for HTML, Blue for CSS and Yellow for JavaScript. This will help students easily identify which language they are working on.

If you have questions or concerns, let’s talk! Feel free to send an email to support@bsd.education or “start a conversation” through chat support!

BSD Online: What’s In “Your Library”

BSD continues to develop new features for you teachers and your students. With our new and more friendly user interface, you can view all available courses and content of your organization in one place. Now you can browse projects and add activities directly to your classrooms with the new “Your library” section.

Here’s a quick step that will guide you on how to use “Your library”.

  1. On your home page, you will see the main menu section on the left side panel, click “Your library”. And after that, the courses and activities available in your organization will appear.
Lib1
  1. The new design shows courses laid out in a grid view. Course images are now front and center and new information such as the course level and course duration are also displayed. This feature also introduces the concept of activity courses which are an unordered collection of projects. TechConnected courses have been assigned as activity courses. At this point, you can choose the course you want to add to your classroom.
Lib2
  1. This is what a course within “Your library” looks like. In the upper right, you will see the “add to classroom” icon, click it.
screenshot-app.bsd.education-2022.02.01-05_39_07
  1. After that, a popup box will appear giving you the choice of which classroom you want to add this course to. Or you can create a new classroom to place the course of your choice by clicking on the “new classroom” button.
screenshot-app.bsd.education-2021.01.08-15_01_15
  1. Lastly, it will redirect you to the classroom you selected, click the “add course” icon. And you can see in the last picture, it is already inside your classroom.
screenshot-app.bsd.education-2021.01.08-15_03_33
screenshot-app.bsd.education-2022.02.01-05_40_46

We hope you find this new feature helpful! If you have any questions or feedback, please feel free to send in a message through our intercom chat or email us at support@bsd.education.

How to Change the Owner of a BSD Classroom

There are instances where you might want to change the owner of the classroom so another teacher can teach your lesson.

Changing the owner of the classroom is possible, to do so, follow these steps:

  1. Log into BSD online. On your home page, click on “Your classrooms”. You will be able to see all of your teaching classrooms as well as the classrooms in which you are added as a student. Then select the classroom you want to change the owner.
yc1
  1. Hover your cursor over the “+” icon in the upper left corner of your classroom at this point to see the option to add a teacher. The teacher you want to be the owner can then be added.
screenshot-app.bsd.education-2022.02.01-00_39_18
  1. A box will appear. You can either type in the name of the teacher you wish to be the owner of your classroom or choose from the drop-down menus below the search bar.
screenshot-app.bsd.education-2022.02.01-00_44_54
  1. After you’ve added the teacher, you’ll be able to change the owner by removing the last teacher in the classroom.
yc4
  1. After that, a pop-up box will prompt if you want to remove the teacher from the classroom. Select “Remove” from the drop-down menu.
screenshot-app-r104.bsd.education-2021.01.12-12_49_01

If you have more questions and other concerns, feel free to reach out to us through chat or send an email to support@bsd.education.

Demystifying the Selective User Profile Dialog

There are many ways how you can check on your students’ progress status. One way is by looking at their profile by clicking their avatar (profile picture) inside the classroom. Teachers can click on any student and select the “Login information” tab to see their latest activity, total number of logins, and last login date. You can also see your students’ customized sandboxes or portfolio by clicking the open portfolio button. Now, with the new classroom feature which is the “selective user profile”, you don’t need to close the button dialog to see every student’s information.

Here’s how it works:

**Step 1: On your home page, click on “Your classrooms”, under your “Teaching” classrooms you will see all the classrooms you have created. Click one of your classrooms.

PD1

Step 2: Inside the classroom, click on the classroom dashboard.

screenshot-app.bsd.education-2022.02.01-04_42_54

Step 3: Click on the student avatar.

PD3

Step 4: The window showing the profile of the student will appear.

Upon clicking the selective user profile, you will see the previous profile and the next profile of your students.

That’s how the selective user profile works! Next time, if you need to check on students’ profiles, go on and try this BSD classroom feature.

Guide to Model Answers in Guided Projects

In case your student got stuck on a question or a step in a project, you can access the answers to any step using the following methods:

First Method: From the Project
If you enter the same project as your students using your teacher account and go to the same step as your student, you can hover your mouse over the checkmark icon beside the “Objectives” button to display the “Model answers” button. Clicking on the said button will fill the correct model answer.

Checkmark icon for filling model answers

m1-2
Model answers button appears when you hover over the checkmark icon


Example of model answers after clicking the Checkmark icon

Second Method: From Classroom Mode
Here’s how you can check the model answers using the Manage classrooms under the Teacher Tools :

  1. Go to your classroom.
  2. Toggle the student list and click the title of the project which your student is working on.
  3. The student progress viewer will pop up. Here’s a screenshot of the viewer:
  1. The student progress viewer will show the step your student is currently working on. By default, you will see the student answer, so switch to Model answers to display the model answer for the current step. See the animation below:
  1. After switching, you will then see the model answer. You can use this model answer to help your student by giving him or her a clue.
  1. Screenshot of a model answer under the student’s progress view

If you have questions about this feature, please reach us through chat.

Understanding Chat Support: New Conversation vs. Report an Issue

Our chat support is available to all teachers after logging and can be found on every page of BSD online. The chat support will allow every teacher to report an issue or start a new conversation. Whether you report an issue or start a new conversation you will be hearing back from a member of our support team.

“Send us a message”, means you are asking the support team general questions like “How can I manage my classroom?”, “My student cannot log in with my email, what could be the problem?”, etc.

While “Report an issue” is when you have experienced a problem/issue on BSD Online and want to communicate this to our support team. When reporting an issue, do remember to explain clearly what problem you are experiencing with details like the title of the project, the step number, etc.”

If you have more questions and other concerns, feel free to reach out to us through chat or send an email to support@bsd.education.

How To Integrate Google Slides into BSD

If you’re looking to integrate a Google Slides presentation into your BSD Online classroom, we have a convenient solution for you. Our platform now includes a feature that allows you to seamlessly add custom links to your classroom materials. This means you can easily share your Google Slides presentations with your students. Let me guide you through the process step by step.

Step 1: Under “Your classrooms”, select and click the classroom you preferred to add a custom link step.
Step 2: Inside the classroom, click the + icon. On the resources, the section is custom steps – links and resources or PDF files. Click the “link
Step 3: After clicking the “link”, you will then ask to add the text or title to be shown in the link.
Step 4: On this step, you will now add the URL link of your google slides. Please make sure to share it with anyone on the internet with the link so your students can be able to view your slides.

Here is a short video to guide you.

Adding Google Slides to your classroom

And if you have further questions, feel free to message us through our support team via chat or email at support@bsd.education.