Once you have created your classroom, added your students and assigned them contents like projects and sandboxes, there is a great way to view and monitor what your students are working on! Here’s an example of a classroom with students and projects:
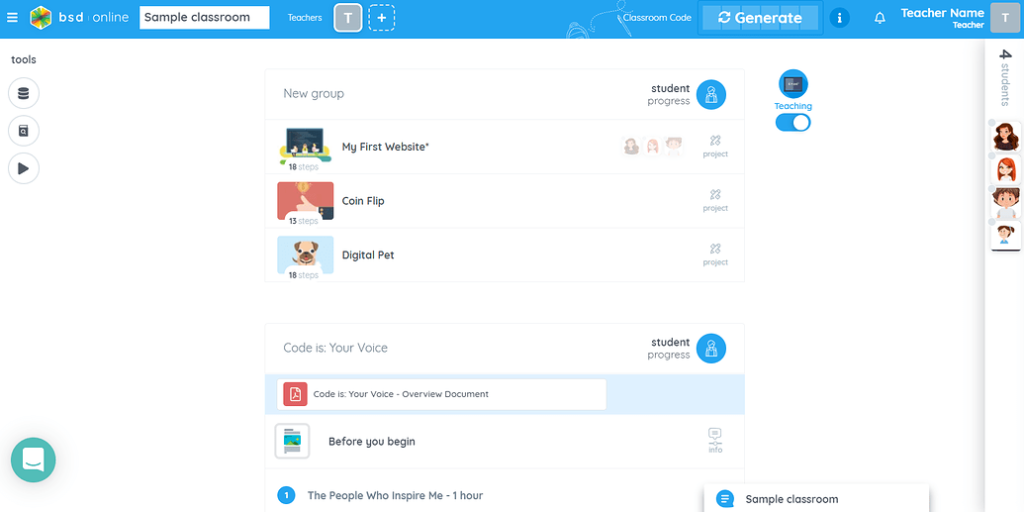
In this example, students have already started working on their projects. If we want to take a look at the project in details, click on the project title:
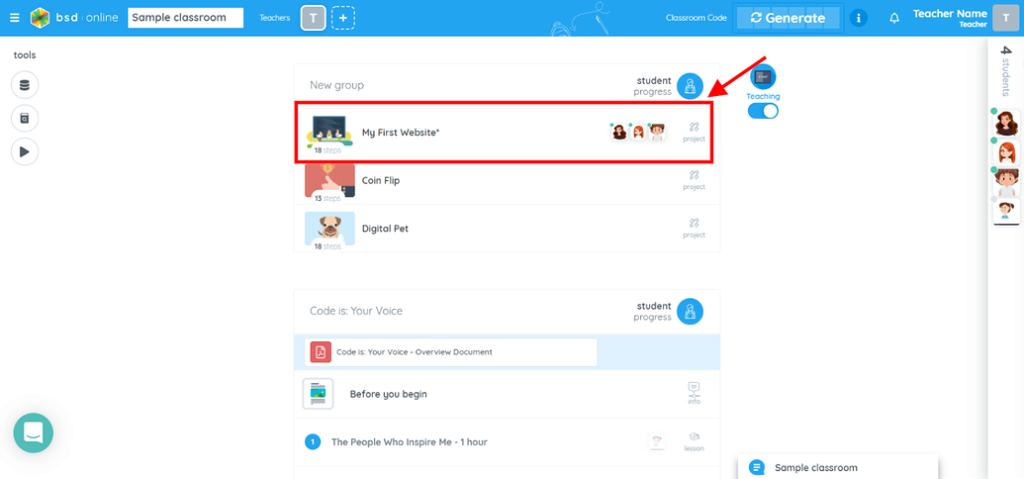
Once we click on the project, the classroom feature will be shown. This will provide information about the project, student’s progress, model answers and student answers as well. Let’s take a look at each parts:
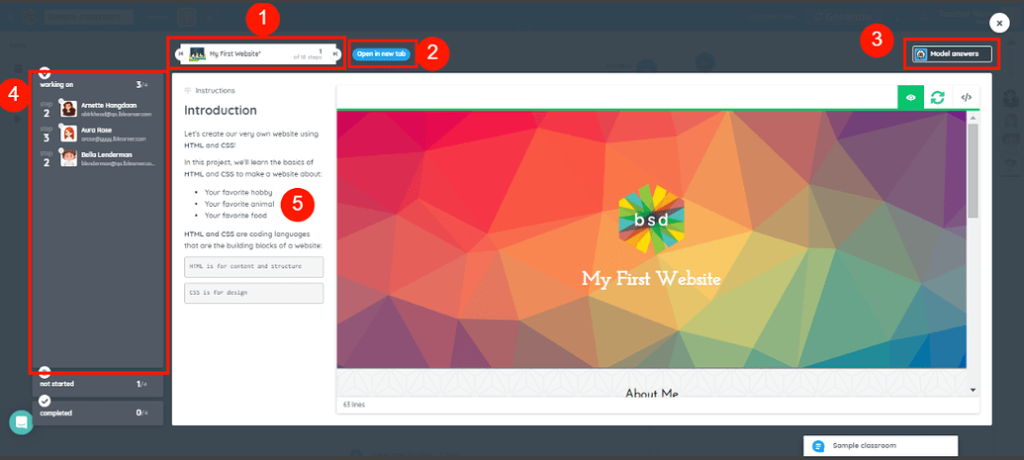
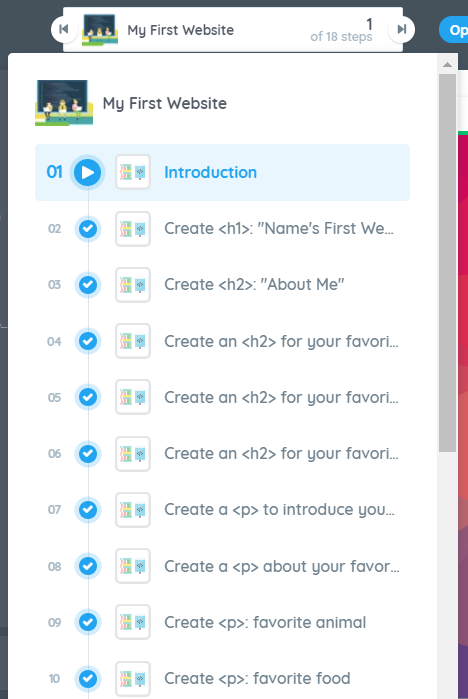
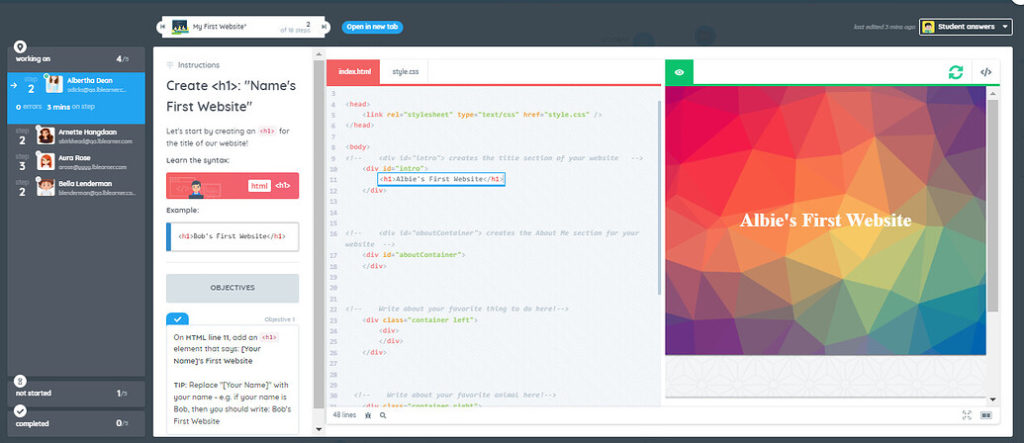
Project Title and Time Machine- This is the title of the project you are viewing. If you click on this, it will collapse and show all the project’s steps. The back and forward arrows will allow you to move to any step you wish to view on the project.
Open in new tab – This allows you to open the full project in a new tab.

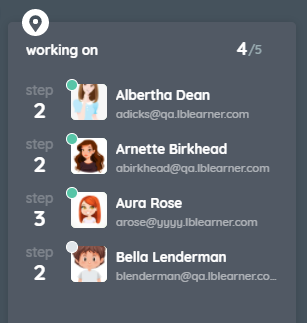
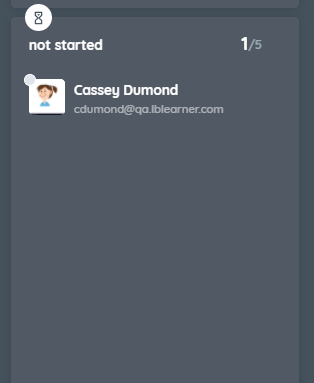
- Student panel – There are 3 panels on different statuses. Working on, Not started and Completed based on the students’ project status. This will help you track students’ progress as they work on each project. This section is very powerful as it gives you the capability to see what the student’s codes are as they work on the project using the “Student Answer” button.
- 4a. Working on panel – this will have the list of students that have started the project. Information like current step number, number of errors and time spent on a step can be accessible when you click on the arrow icon and quick access to the student profile by clicking on the student’s name.
4b. Not started panel – This will list down students that haven’t started the project yet, giving you an idea who may need help getting to the correct project.
4c. Completed panel – All students who have completed the project will be listed here. Students who have finished early can be given other tasks or help other classmates who may be having difficulties.
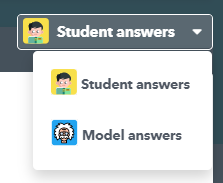
Model answer/Student answer – This button lets you toggle to view the model answer for the step or the view live what the student’s answer is. The Student answers will only be available for students who are already working on a project.
Example:
Student’s view:
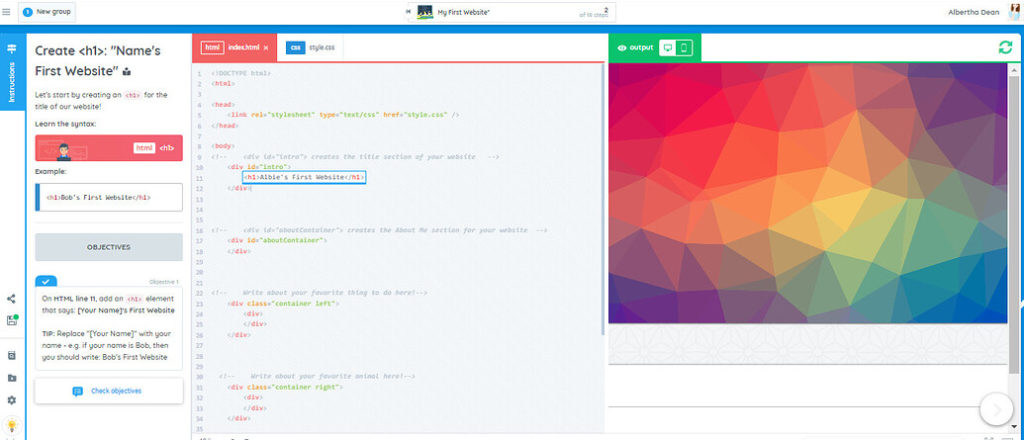
Teacher’s view:
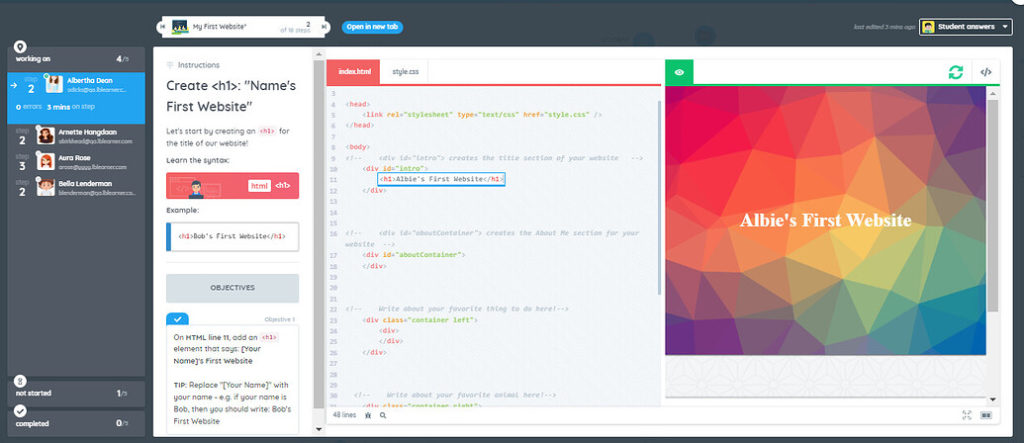
Project view – This is the overview of the project. What will show on the screen will depend on if you are viewing the model answer or the student answers.
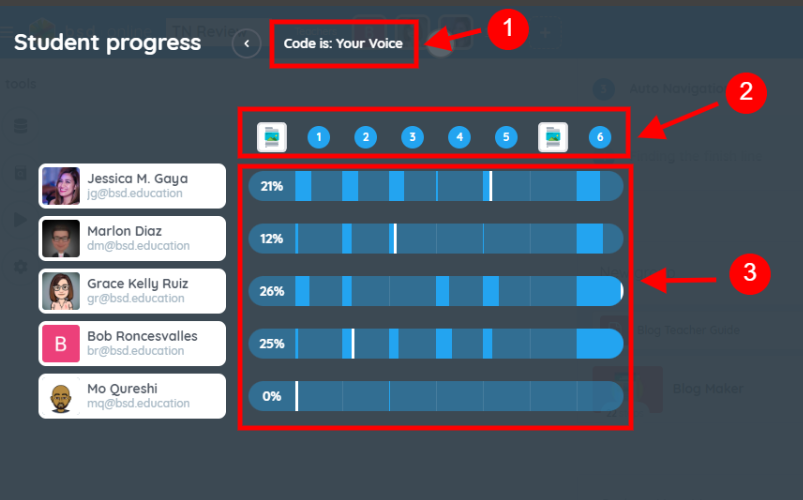
We can also use the Student progress button.
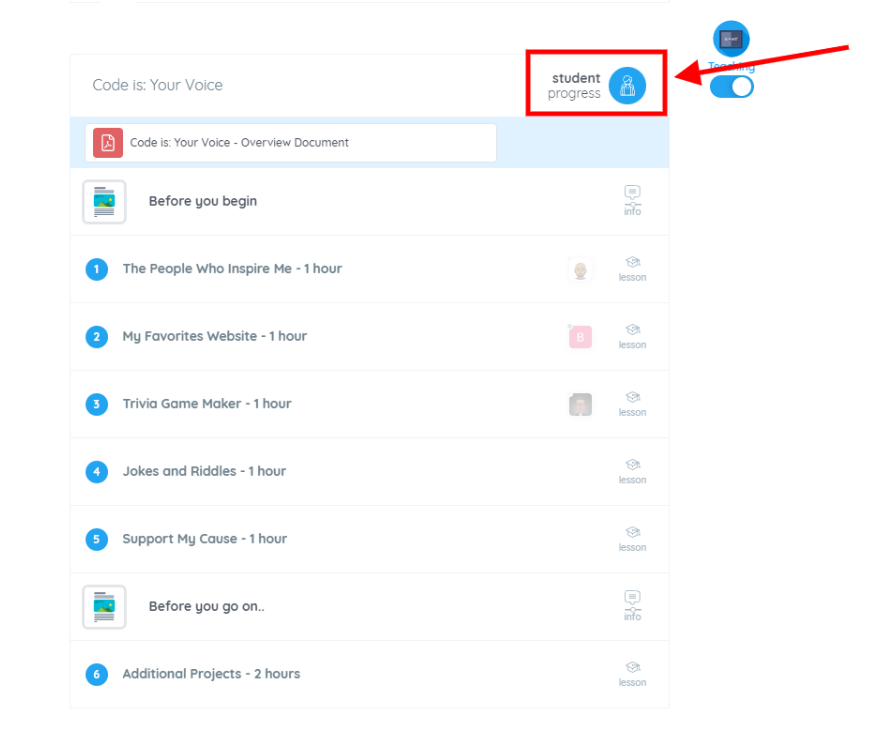
Once you click Student progress button, a page containing an overview and progress of the group or course you selected will show up. The information you can see here are the following:
- Group or Course name
- Project or Lesson – This will show the either the lesson number or the project image tile and the lesson name and project name when hovered over with the mouse pointer.
- Progress – The percentage indicates the percentage of completion for the whole lesson group or course while the blue chunk indicates the completion for a lesson or a project.
These are the classroom features that can help you be more effective in teaching BSD Online and your own materials to your students. As we continue to improve the platform to suit your teaching needs, always feel free to reach out if you have any suggestions or feedback. You can get in touch with us through support@bsd.education or through chat support!

